If you’re looking to switch from old fluorescent lights to bright, energy-saving LED tubes, you might be wondering how to wire them without that bulky ballast thing. Good news—it’s easier than you think!
LED tube lights are awesome—they last longer, save money on your electric bill, and don’t need a ballast to work. But if you’re used to fluorescent fixtures, the wiring might seem a little confusing at first. Don’t worry, though—I’ll walk you through it step by step in plain, simple terms.
By the end of this guide, you’ll know exactly how to wire your LED tubes without a ballast, so you can enjoy brighter, more efficient lighting in no time. Let’s get started!
Why May You Want to Wire LED Tube Lights Without Ballast?
1 . To Save Money
Let’s be real—LED tube lights aren’t always cheap, especially if you’re replacing a bunch of them in your home or office. But here’s the good news: if you wire them without a ballast, you’ll actually save more money over time.
Old fluorescent lights need a ballast to control their power, but that extra part wastes energy—and that means higher electric bills. LED tubes don’t need a ballast at all. By cutting it out and wiring them straight to the power, you’ll use less electricity and keep more cash in your pocket.
So not only do you avoid buying replacement ballasts (which burn out eventually), but you also get lower energy costs. It’s a win-win!
2 . To Increase Energy Efficiency
Those old ballasts in fluorescent lights actually waste power—up to 20% of the energy they use just disappears as heat!
But LED tubes? They’re smart. They don’t need that middleman. When you wire them directly, all the electricity goes straight to making light—no energy gets lost along the way. That means your lights shine brighter while using less power.
Think of it like a leaky hose—with a ballast, some energy just drips away. Go ballast-free, and every bit of power goes where it should: into perfect, energy-saving light.
3 . To Have Longer Lasting Lights
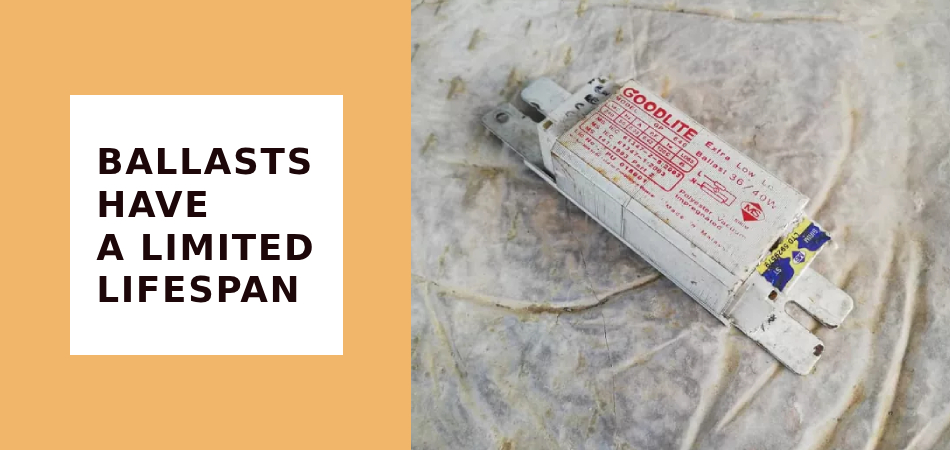
Just like old fluorescent tubes, they burn out over time, forcing you to buy replacements and deal with the hassle of changing them. But LED tubes? They’re built to last years longer than traditional lights.
Here’s the best part: when you remove the ballast completely, your LED tubes last even longer. Without that weak link in the system, there’s nothing to fail prematurely. That means fewer trips up the ladder to fix your lights and more money staying in your wallet.
It’s simple—no ballast means no ballast problems. Just set it and forget it lighting that keeps working year after year.
4 . To Have Brighter Lights
Think of the ballast like a dimmer switch you didn’t ask for. It holds back some power from your lights. Take it out of the equation, and your LEDs get all the electricity they’re meant to have. The result? Maximum brightness with the same great energy savings.
It’s like unlocking your lights’ full potential. Same bulbs, same low energy use—just more beautiful, powerful light shining where you need it. No upgrades needed, just smarter wiring!
5 . To Customize Light Levels
Wiring LED tubes without a ballast gives you flexibility. The ballast forces your lights to stay at one brightness level. Remove it, and you can:
Now your lights can be bright for work or soft for relaxing—all by removing that limiting ballast. Just make sure your LED tubes are dimmer-compatible first!
How to Wire LED Tube Lights Without Ballast in 5 Easy Steps
Step 1: Prepare Your Tools & Materials
Before starting, ensure you have:
Step 2: Turn Off Power at the Breaker
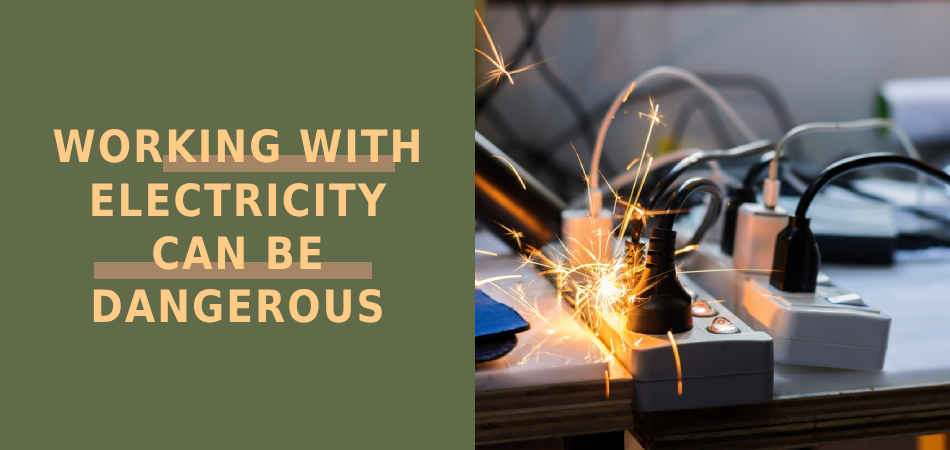
⚠️ Safety First!
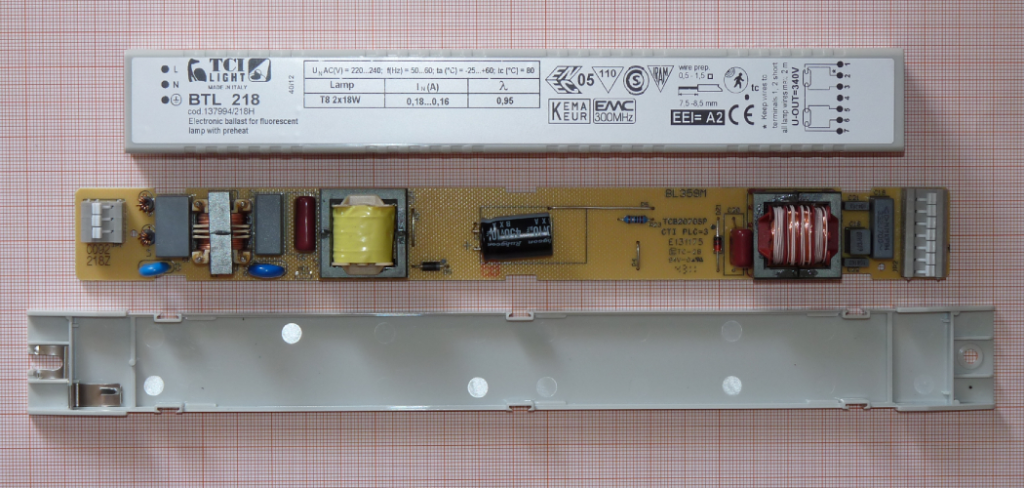
Step 3: Remove the Old Ballast & Starter (If Present)
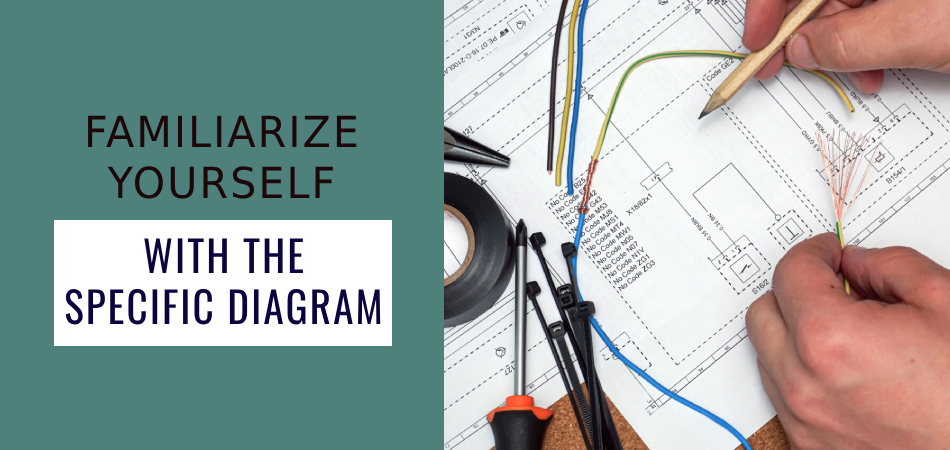
Step 4: Check the LED Tube Wiring Diagram
Step 5: Connect & Secure the Wires
Final Checks Before Powering On
By following these steps, you’ll have brighter, more efficient LED lighting without the hassle of a ballast!
Some Extra Tips to Wire LED Tube Lights Without Ballast
1. Do Not Forget to Double-Check Your Connections
Loose connections rank among the most common causes of LED lighting issues, potentially leading to annoying flickering or complete fixture failure. Pay special attention to wire nut tightness and verify that no stray copper strands could create short circuits.
2. Use Wire Nuts for Better Insulation
Choose nuts specifically sized for your wire gauge, and always twist wires together firmly before applying the nut. This dual-action approach – mechanical twisting plus insulated capping – provides superior protection against both short circuits and accidental disconnections compared to simple twisting or taping alone.
3. Label Your Wires
In multi-fixture installations or when dealing with non-standard wiring colors, a simple labeling system prevents costly mistakes. Use durable tags or colored tape to clearly mark each wire’s function (e.g., “L1 Hot,” “Neutral Return,” “Ground”). This organizational step becomes particularly valuable when returning to a project after interruption or when troubleshooting future issues.
4. Use Electrical Tape for Extra Protection
This practice helps contain any potential arcing, prevents nut loosening from vibration, and protects against accidental contact with metal fixture components. For best results, stretch the tape slightly during application to ensure a tight, conforming wrap.
5. Consider Using a Voltage Tester
Modern non-contact voltage testers offer inexpensive yet vital protection against accidental shock. Always verify power disconnection at multiple points – not just at the switch – as some installations may have multiple live feeds. This simple pre-work check takes seconds but can prevent life-altering injuries from unexpected live circuits.
6. Seek Professional Help if Needed
Professional assistance is particularly valuable when encountering: unfamiliar wiring configurations, outdated electrical systems, or any situation where you feel uncertain. Licensed electricians can often complete complex installations more efficiently while ensuring full compliance with local electrical codes.
Frequently Asked Questions
What Precautions Should I Take When Wiring LED Tube Lights Without Ballast?
Before you start wiring your LED tube lights without a ballast, here are some important safety tips to keep in mind:
Bonus tip: After connecting all wires, give each one a gentle tug to make sure they’re nice and tight before turning the power back on!
Remember: If anything looks confusing or you’re not sure, it’s always okay to call an electrician for help. Safety comes first!
Can I Install LED Tube Lights Without Ballast?
You absolutely can install LED tube lights without a ballast. Most newer LED tubes are actually made to work this way – they’re designed to connect directly to your home’s power.
This is actually better for a few reasons:
So when you’re shopping, just look for LED tubes marked “ballast bypass” or “direct wire” – these are the ones made to work without a ballast. Makes your life simpler and your lights work better!
Why Should I Wire LED Tube Lights Without Ballast?
- Save Money Twice Over
No more buying expensive ballasts or paying to replace them when they burn out. LED tubes last years – why keep replacing their ballasts? - More Savings on Your Power Bill
Ballasts are energy vampires – they suck up extra electricity even with efficient LEDs. Cutting them out means every watt goes straight to your lighting. - No More Compatibility Headaches
Ever had lights that flicker or won’t turn on? Old ballasts often don’t play nice with new LEDs. Going ballast-free means guaranteed performance.
It’s like taking the middleman out of your lighting system – your LEDs get cleaner power, you save money, and everything just works better. Most electricians will tell you: if your fixtures allow it, bypassing the ballast is the way to go with LEDs.
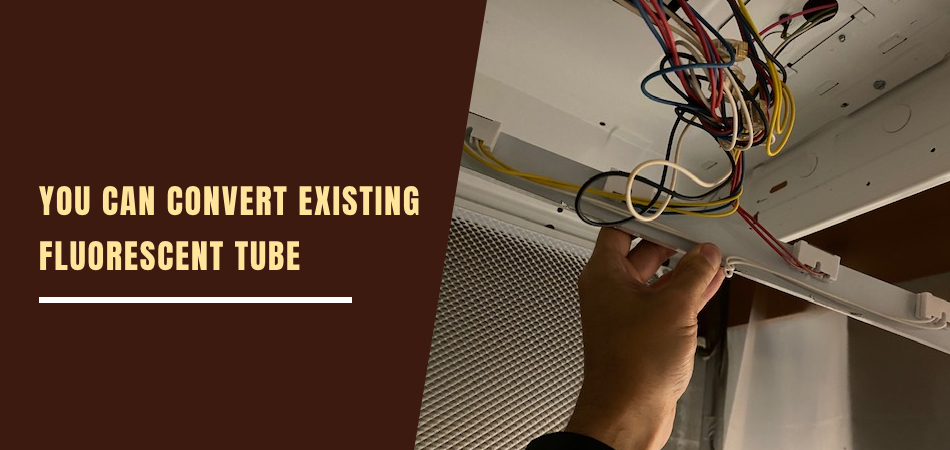
Can I Convert Existing Fluorescent Tube Lights to LED Without Ballast?
You can definitely replace those old fluorescent tubes with LEDs and completely remove the ballast. Here’s how it works:
But heads up – not every old light fixture can handle this change. Some are too old or might not work safely with direct-wire LEDs.
Play it smart:
This simple switch means no more ballast replacements and better light – just make sure your fixture can handle it first!
Conclusion
At first glance, wiring LED tube lights without a ballast might seem tricky, but once you know the steps, it’s actually pretty straightforward. Now that you’ve got the basics down, you’re all set to upgrade your lighting to energy-efficient, long-lasting LEDs—no ballast needed!
Just remember:
That’s it! Follow these tips, take your time, and soon you’ll be enjoying brighter, cheaper-to-run lights.
Happy installing—and even happier lighting! 💡