Do you have old fluorescent lights that flicker, hum, or just don’t give off good light anymore? Instead of buying a whole new fixture, you can easily switch them to LED! LEDs last longer, save energy, and give better, brighter light—all while being kinder to the planet.
The best part? You don’t need to be an electrician to do it. With a few basic tools and some careful steps, you can upgrade your fluorescent fixture to LED in no time. This guide will walk you through the process safely, with tips to avoid common mistakes.
Ready to brighten up your space the smart way? Let’s get started!
Why May You Want to Rewire a Fluorescent Light Fixture for Led?
- Better Light Quality
Fluorescent lights often flicker, buzz, and produce a harsh, unnatural glow that can strain your eyes. LEDs provide instant, steady lighting with superior color accuracy, making everything from makeup application to food prep look more vibrant and true-to-life. Whether you’re reading, working, or relaxing, LEDs create a more comfortable and visually appealing atmosphere in any room. - Significant Cost Savings
LEDs consume up to 75% less energy than fluorescent bulbs, which means you’ll see a noticeable drop in your electricity bill over time. Since LEDs last 2-5 times longer than fluorescents, you’ll also save money on replacements—no more frequently buying new tubes or dealing with early burnouts. The initial investment pays for itself quickly, making LEDs the smarter long-term choice for your wallet. - Durability and Safety Benefits
Fluorescent bulbs are fragile, contain hazardous mercury, and can overheat, posing potential fire risks if the ballast fails. LEDs are made of sturdy materials, generate minimal heat, and contain no toxic chemicals, making them safer for homes with kids or pets. Their solid-state design means no glass to break, no humming noises, and no annoying delays when you flip the switch. - Eco-Friendly Lighting Solution
Fluorescent lights require special disposal due to their mercury content, which can harm the environment if not handled properly. LEDs, on the other hand, are free of toxic materials and have a much smaller carbon footprint thanks to their energy efficiency. By switching to LEDs, you’re reducing waste, cutting energy consumption, and making a greener choice for the planet.

How to Rewire a Fluorescent Light Fixture for Led in 5 Easy Steps
Step 1: Gather All The Tools
Before starting, collect everything you’ll need so you’re not scrambling mid-project. The essential tools include:
Pro tip: Keep a voltage tester handy to double-check wires are dead before touching them! Having all tools within reach makes the job faster and safer.
Step 2: Switch off the Power Source
Never skip this crucial step! Head to your circuit breaker panel and flip the switch that controls power to your light fixture. But here’s the important part: even after switching it off, always test the wires with a voltage tester before touching anything. I’ve seen too many DIYers shocked because they assumed the power was off when it wasn’t.
For extra safety, tape the breaker switch in the “off” position and put a note on the panel saying you’re working on electrical. This prevents someone from accidentally restoring power while you’re elbow-deep in wiring.
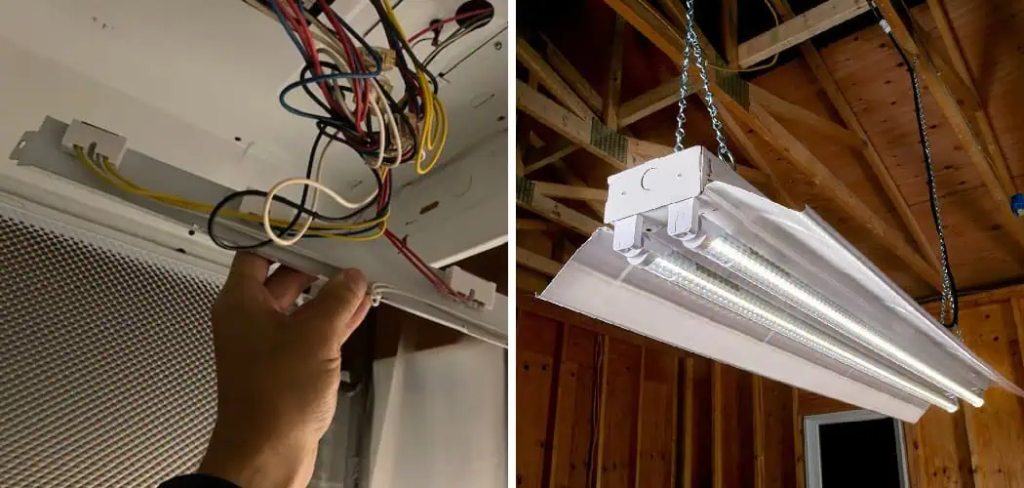
Step 3: Remove the Existing Fluorescent Light Fixture
Time to get hands-on! First, unscrew the fixture’s cover carefully – these often have spring-loaded clips that can snap unexpectedly. Have a helper support the fixture’s weight as you work to prevent it from falling. Once exposed, you’ll see the wiring connections: typically a black (hot), white (neutral), and green or bare copper (ground) wire.
Here’s a crucial tip: Snap a quick photo of the wiring setup before disconnecting anything. This gives you a reference if you get confused during installation. Use your wire cutters to carefully remove any wire nuts, then gently separate the fixture wires from your home’s wiring. If the wires are brittle or discolored, that’s a sign your upgrade is definitely needed!
Pro safety move: Wrap each exposed wire end with electrical tape as you disconnect them to prevent accidental contact. Keep all hardware together in a container – you might need some of those screws for your new LED fixture.
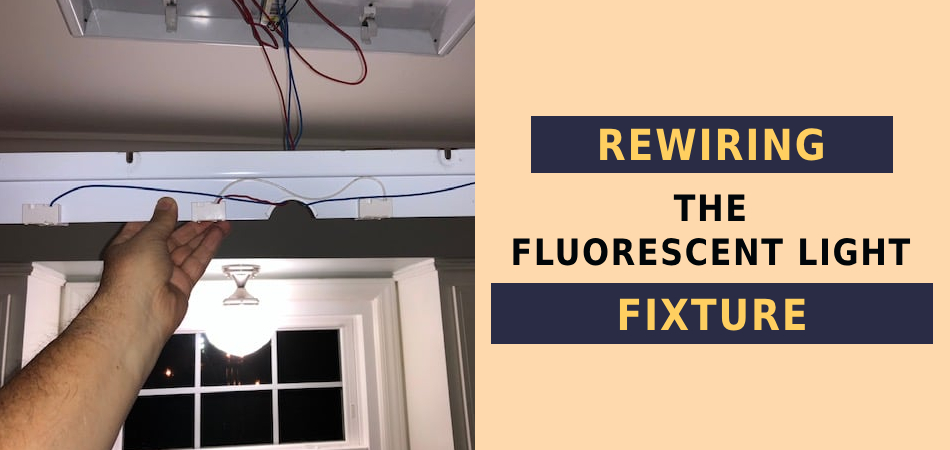
Step 4: Rewire the New LED Light Fixture
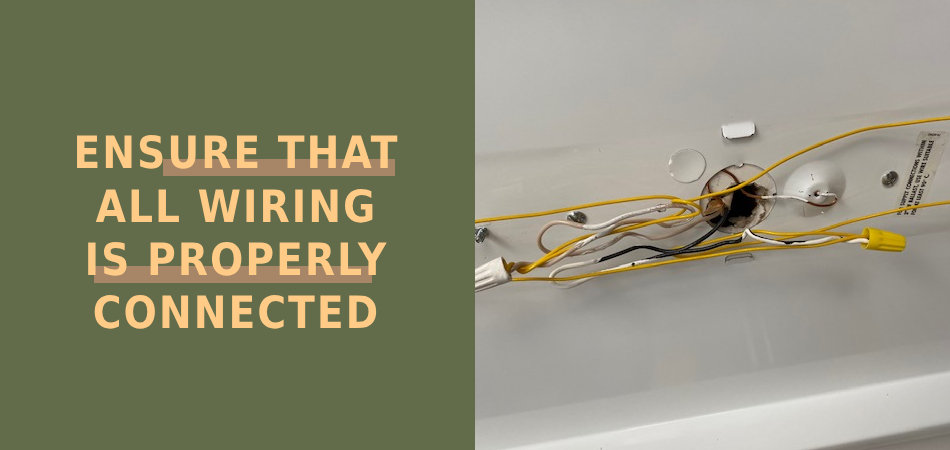
This is where the magic happens! Start by matching the wires: black to black (hot), white to white (neutral), and green/bare to green/bare (ground). Here’s my professional trick: twist the stripped ends together clockwise before securing them with wire nuts – this creates a stronger connection that won’t loosen over time.
For extra protection:
If your LED fixture has a different color scheme (some use brown/blue for live/neutral), check the manual – I’ll help you decode any confusing wiring diagrams. Remember: The ground wire is non-negotiable for safety, even if the fixture seems to work without it.
Pro tip: Use a pencil to mark wire nuts with their corresponding colors if you need to disconnect them later for adjustments.
Step 5: Secure The New Light Fixture
Now for the satisfying part—mounting your upgraded light! Carefully lift the fixture into position, making sure no wires get pinched behind it. Here’s a contractor trick: hand-tighten all mounting screws first, then do a final tightening with your screwdriver once everything is aligned perfectly.
Before restoring power:
The moment of truth—flip the breaker back on and test your light. If it doesn’t turn on immediately, don’t panic! First, check:
Note: Keep the original packaging for 24 hours in case you need to return/exchange anything.
Some Extra Tips to Rewire a Fluorescent Light Fixture for Led
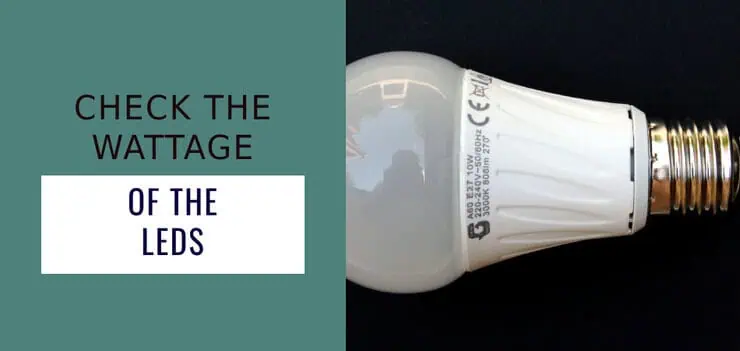
- Mind Your Wire Capacity
Fluorescent fixtures often use thinner gauge wiring than LEDs require. Before installation, check the wattage of all your new LED bulbs—the total shouldn’t exceed 80% of the circuit’s capacity (check your breaker panel for amp ratings). This prevents overheating and potential fire hazards. When in doubt, consult an electrician about upgrading your wiring
- Make Sure Wiring Is Up to Code
Before you change your old fluorescent light to an LED one, make sure the way you wire it follows your area’s safety rules. If you’re not sure about anything, it’s always best to ask an electrician for help. - Check to See if a Ballast Is Present
Old fluorescent lights need a part called a ballast to work properly. But LED bulbs don’t need one—so before you switch to LEDs, you’ll have to rewire the fixture and take out the old ballast. Always check for and remove the ballast before you start rewiring. - Get the Right Size Bulb
When switching from fluorescent bulbs to LEDs, make sure the new bulb fits your fixture. LEDs come in different shapes and sizes, so check the label or measure the old bulb to get the right match. This way, you’ll avoid problems and keep everything safe. - Follow Directions Carefully
When rewiring your fluorescent light for LED, take your time and follow the instructions step by step. This helps make sure everything is connected safely and correctly. Also, don’t forget to check any warning labels on the LED bulbs before installing them.
By taking these simple steps, you can switch your old fluorescent light to LED without any hassle. With the right tools and a little patience, you’ll have bright, energy-efficient lighting working again in no time!
Frequently Asked Questions
What Precautions Should I Take When Rewiring My Fluorescent Light Fixture for LED?
Stay Safe: 3 Must-Do Steps
- Turn Off ALL Power
- Wear the Right Gear
- Check Before You Start
STOP and call an electrician if you see:
How Do I Rewire the Fluorescent Light Fixture for LED?
Helpful Tips:
That’s it! Now you’ve got bright, efficient LED lighting.
What Benefits Does Rewiring My Fluorescent Light Fixture for LED Provide?
- Cheaper Bills
- No More Annoying Problems
- Safer & More Comfortable
Do I Need Professional Assistance When Rewiring My Fluorescent Light Fixture for LED?
Good for DIY if you:
Better to call a pro if:
Remember:
Conclusion
Switching from fluorescent to LED might look tricky at first, but thousands of homeowners do it successfully every day. Here’s the honest truth:
- You’ve Got This
- Smart Prep = Easy Job
- When to Wave the White Flag
Pro Tip: Many electricians offer free estimates – get one if you’re on the fence. A 50 service call could prevent 500 in repairs!